Hygrometer or Humidity Gauge Calibration
If you have a digital hygrometer or humidity gauge and wish to accurately calibrate it, without having to purchase expensive manufacturer-supplied salt calibration kits, here is the easy solution. The physics behind this project is simple and reliable: Different salts, when mixed with water to create a sludge or slurry, will generate a consistent and predictable humidity.
Simplified scientific explanation:
A saturated solution at a stable temperature and pressure has a fixed composition and a fixed vapor pressure. Thus, at constant temperature, no matter how much salt and how much water are present, the (RH) relative humidity that is produced is fixed, just as long as both the water and the solid phase are present. So, unless the water dries up, or the salt is made so wet that it liquefies, a predetermined humidity can be produced.
It is convenient for us that a solution of ordinary salt mixed with water (preferably distilled water) produces a predictable humidity over a wide range of temperatures. The humidity created, with ordinary salt (Sodium Chloride) and water, is 75.29% at an ideal temperature of 77 degrees Fahrenheit. The temperature of the room is not critical for our purposes. For example, the RH is quite stable even with large variations: Salt solution at 59 degrees Fahrenheit will produce 75.61% RH and at 86 degrees Fahrenheit the RH is 75.09%.
To calibrate the lower end, 33% humidity, Magnesium Chloride (a salt) and water is used again. At the ideal temperature of 77 degrees Fahrenheit, this solution will produce an RH of 32.78%. At 59 degrees Fahrenheit it will produce an RH of 33.30% and at 86 degrees Fahrenheit it will produce 32.44% RH. Once again, “room temperature” is not critical.
Detailed calibration procedures:
With most professional instruments, it is recommended that they be calibrated at both a low point and a higher reference point. For convenience, most manufacturers have selected 75% and 33% RH as the default calibration standards. So, to calibrate our instruments, we need to be able to place the device in our own custom “humidity chamber”.
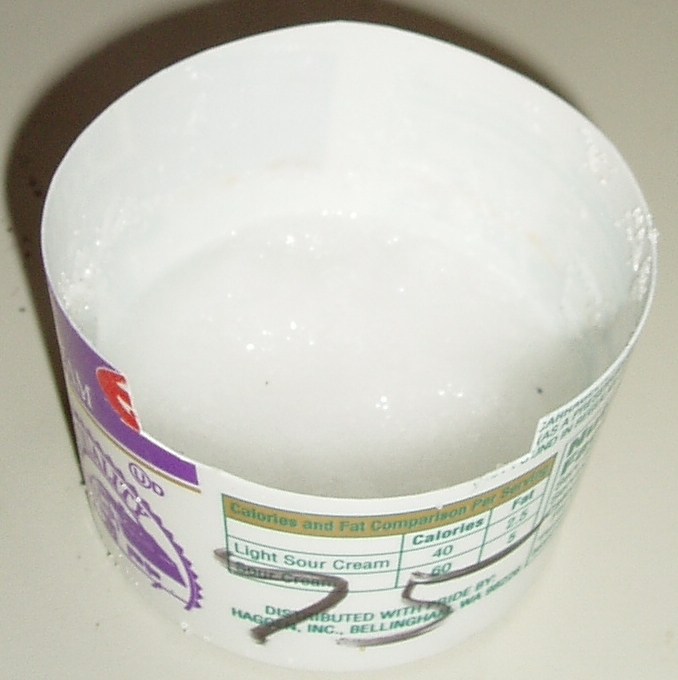
To create your 75% humidity chamber put salt in a container and mix it with some water – but not too much. You want a damp sludge, not soup. I made containers from yogurt cartons. I cut the tops off, so they are about two inches high, and cut a recessed area so the hygrometer can rest with the sensor over the solution without it being in direct contact with the wet solution.

Yogurt carton
See recessed area
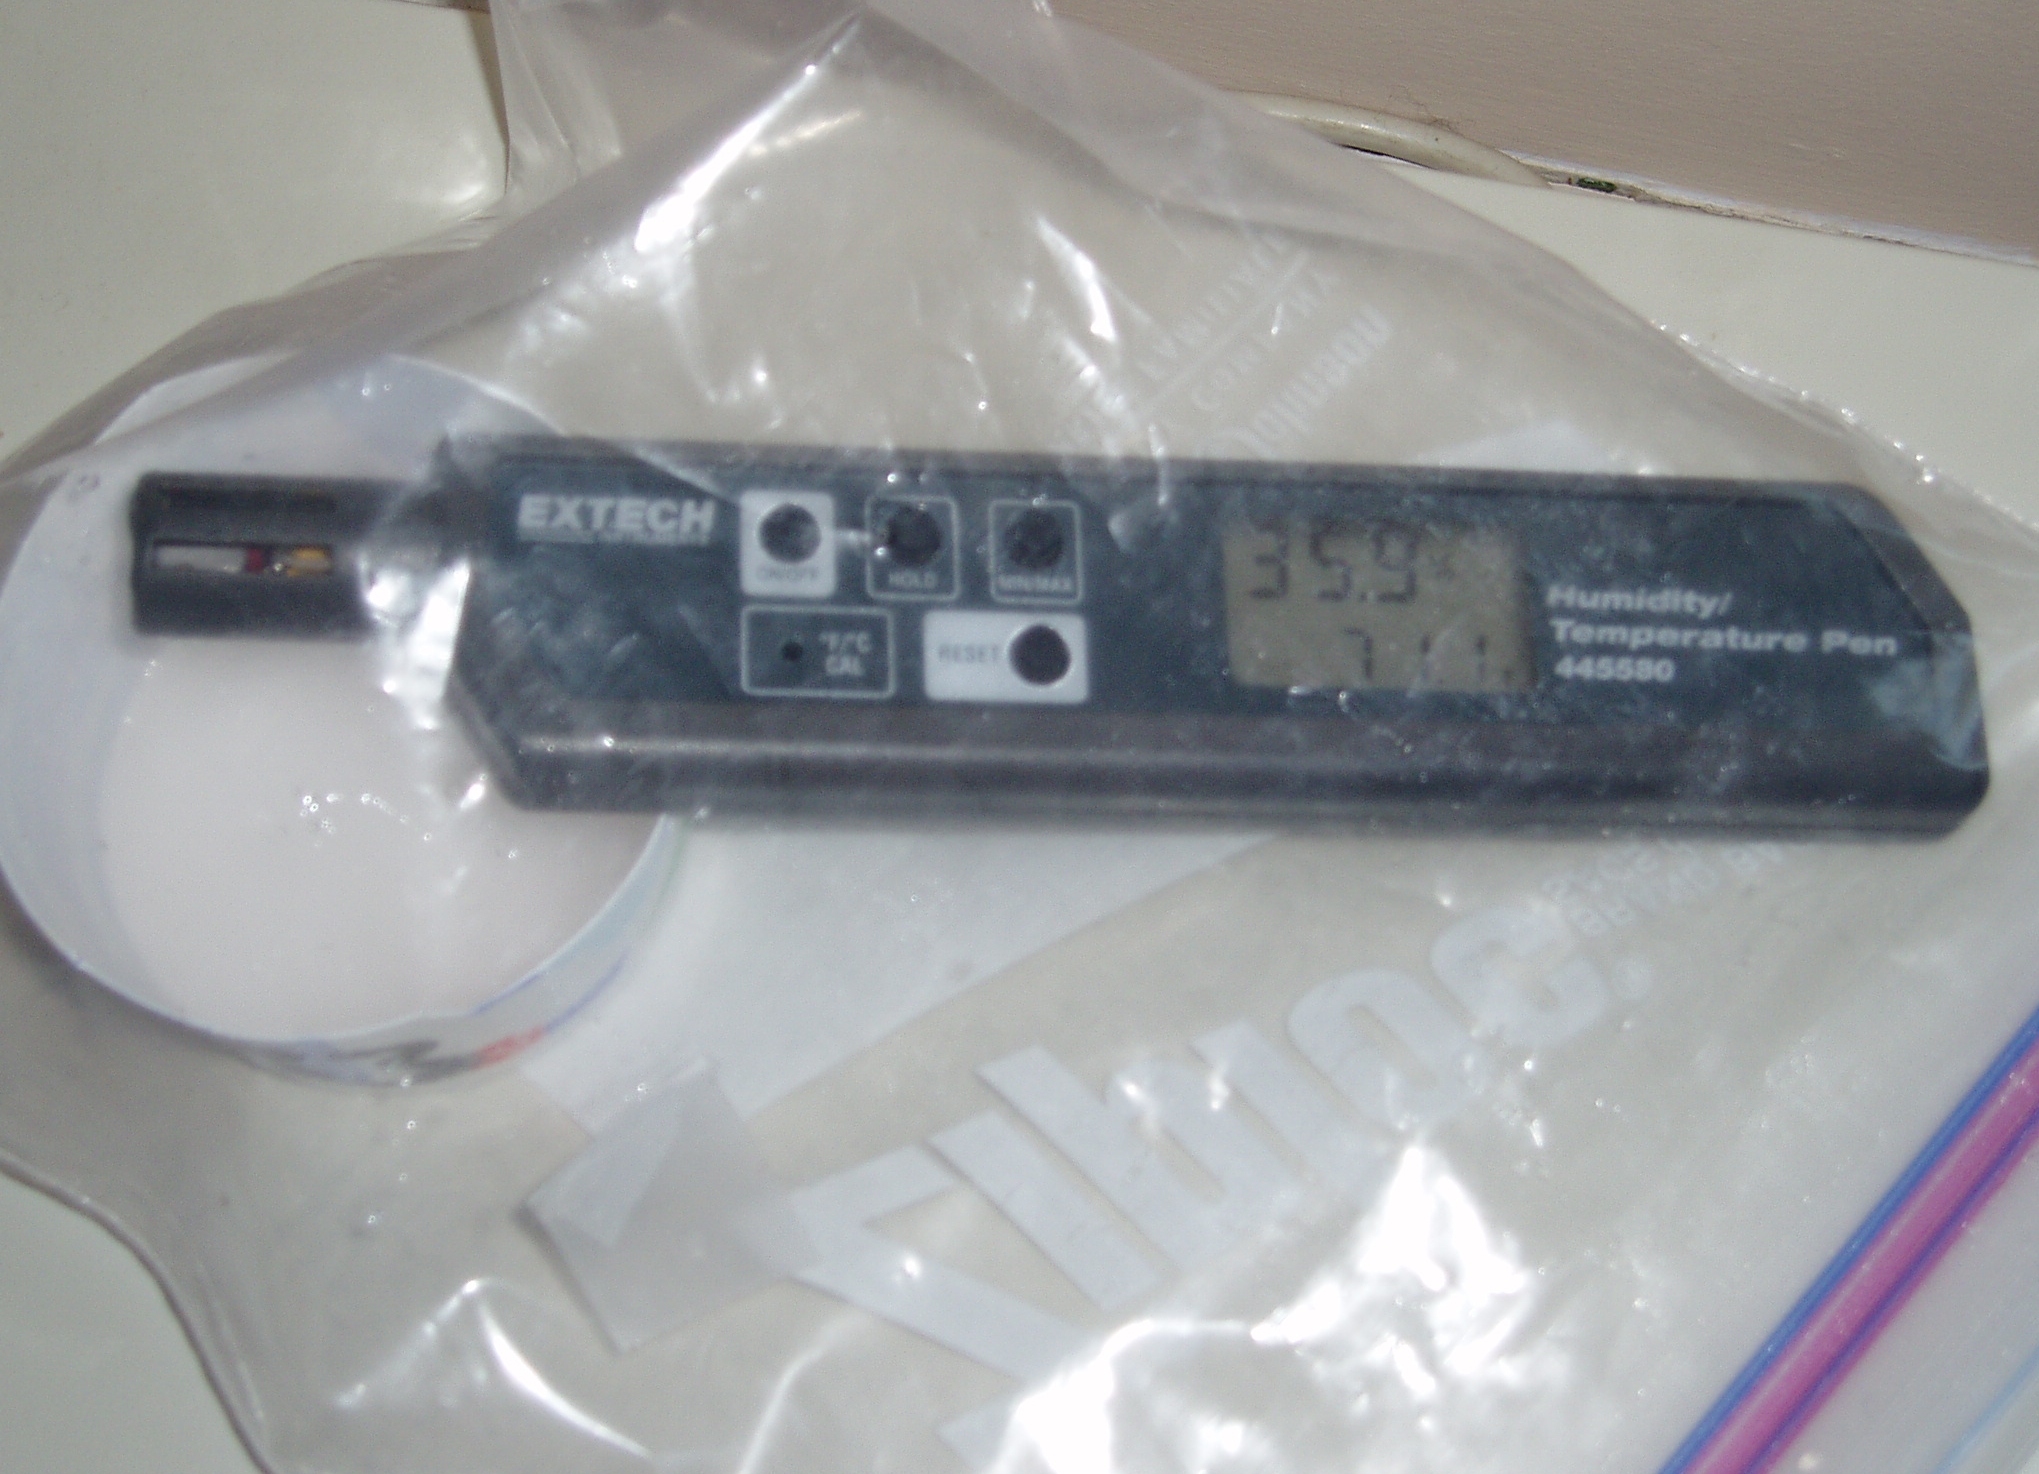
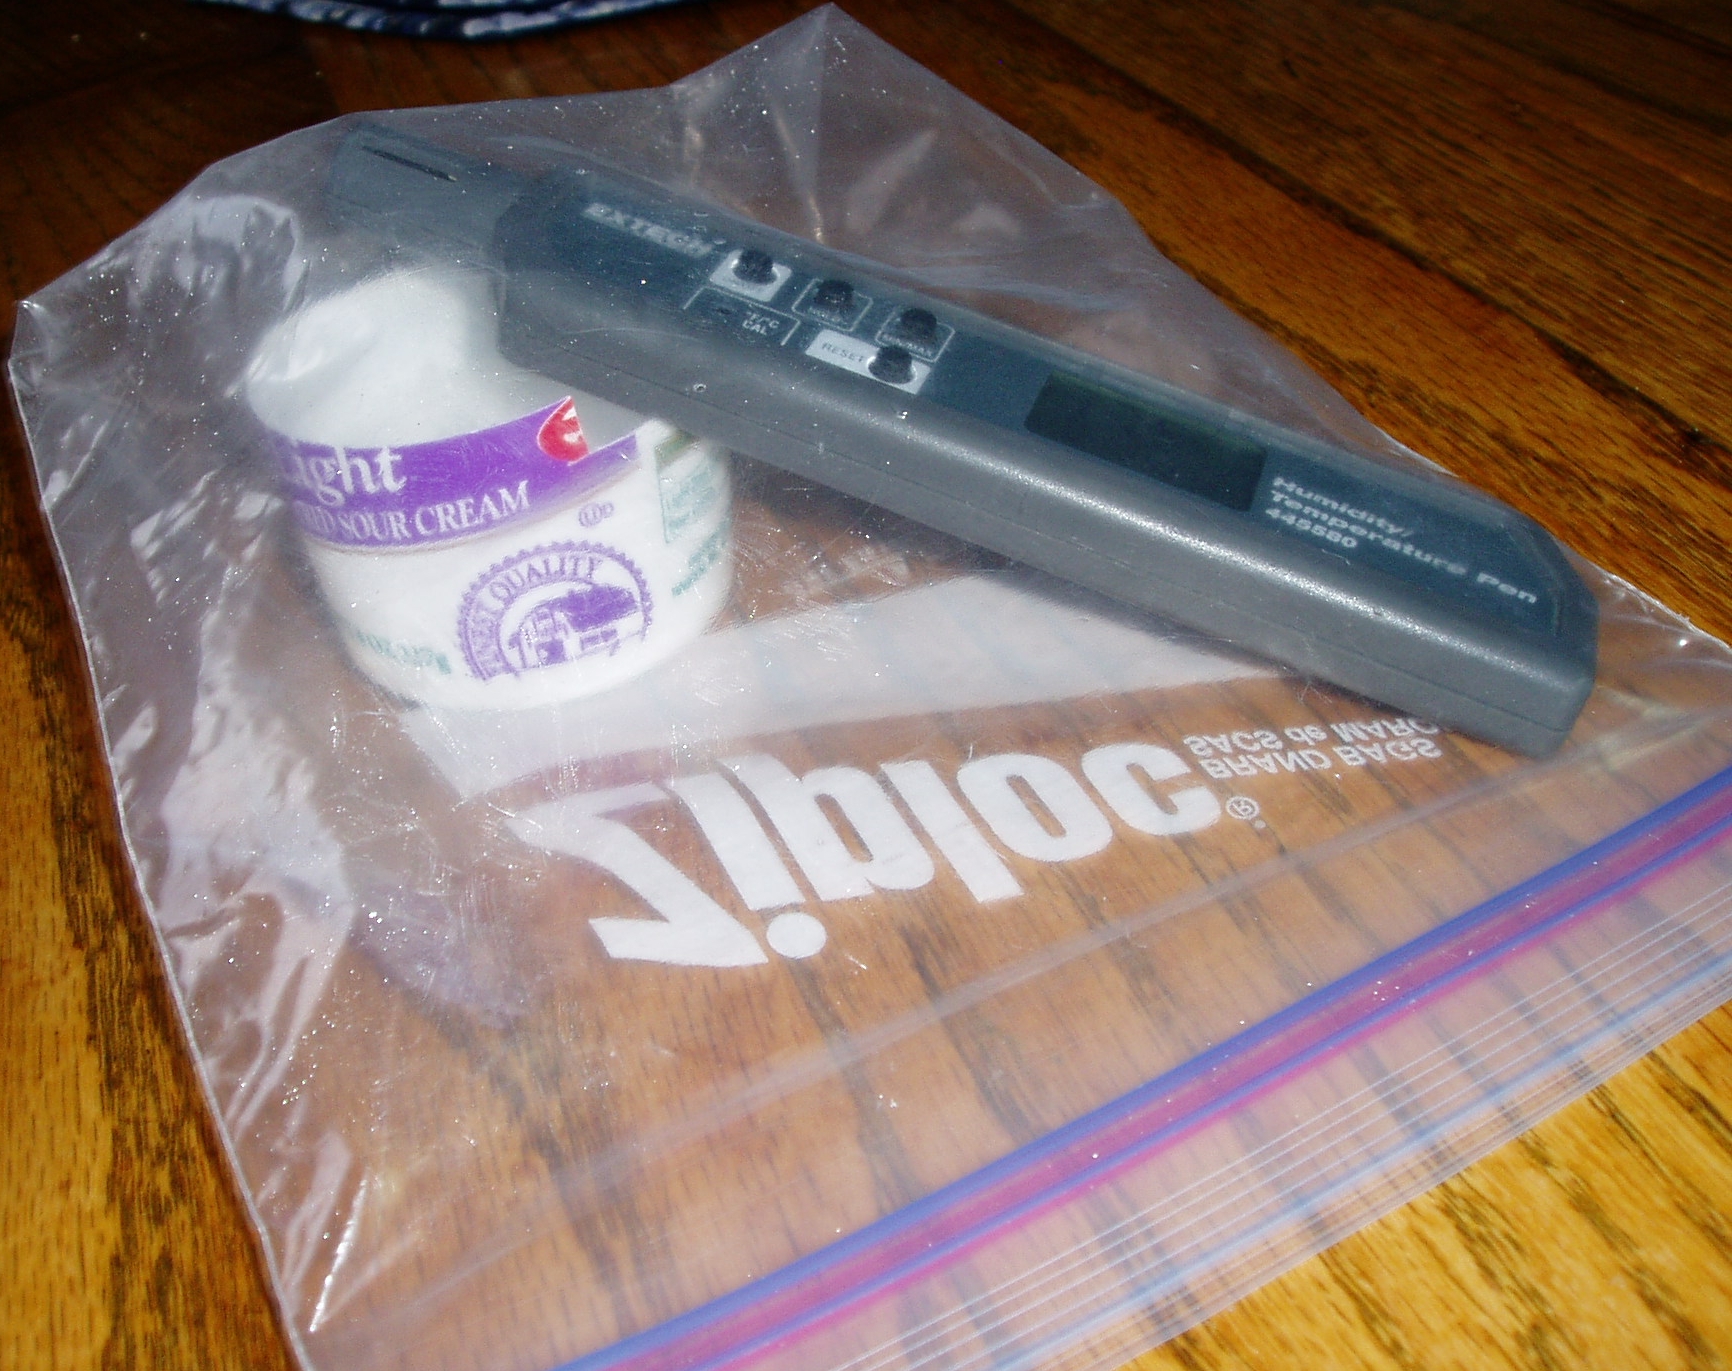
Put the hygrometer across the yogurt container (photos below) and seal it in one, or even two, Ziploc bags. Having some air in the bag is unavoidable and fine. This method should work with any hygrometer, including the inexpensive mechanical hygrometers, which are typically only tested or calibrated at 75%. Again, make any accommodations required to make sure the instrument does not get wet -- it must sense the RH and not water. Normally, with the cheaper hygrometers, you cannot actually calibrate the device but you can take a reading in a known RH and from that calculate a correction factor.


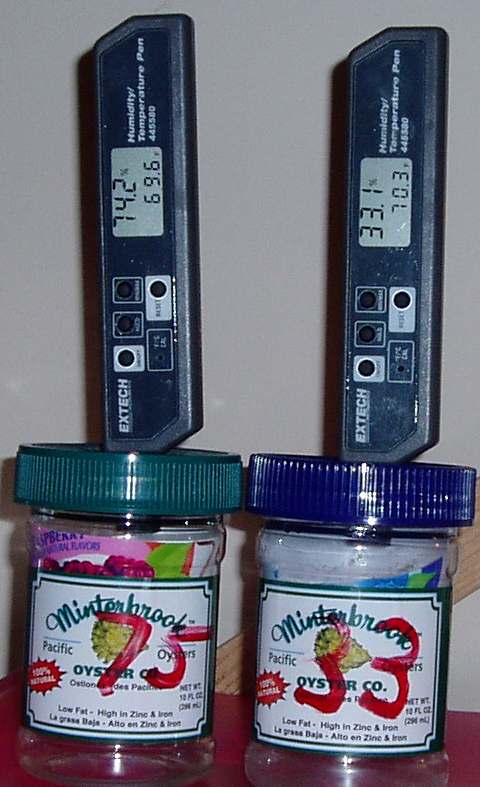
NOTICE: If you have a professional electronic hygrometer, such as the one in the photos which has a built-in but accessible sensor, you can simplify the calibration procedure. Merely obtain a couple plastic jars, such as oysters or similar foods come in, and drill holes in the lids so they provide a snug fit for the sensor on your instrument. Label the jars 75% and 33% and put your salt mixtures in the jars. I still use the yogurt containers to hold the salt mixtures and jam them in tight, about 1/3 of the way into the jar, so a humidity chamber is formed near the top of the jar. Screw the lids on the jars. If you have two hygrometers, put one in each jar lid. ( Photo below) If not, put your hygrometer in one jar lid and a piece of tape or a seal of some type over the other one so the RH will stabilize. Once the proper RH has been created, in the same general time-frame described below, you can quickly check or re-calibrate a hygrometer by inserting the sensor in either of the two jars. Always give an instrument some time to stabilize, after moving it from one humidity chamber to another. This is the most accurate way for you to calibrate an instrument, if it can be done this way. The readings stay more stable than they do when a plastic bag is used: If a bag is inadvertently compressed or the contents shifted, which is likely to happen if you have to calibrate the instrument instead of merely viewing it, stability of the humidity chamber is affected and that can result in calibration errors. As a result, that process must be performed cautiously and double-checked.

Chemistry 75% solution:
Use pure salt, sodium chloride -- no additives. Morton canning salt from a grocery store is such a salt and it is inexpensive. Put a few tablespoons in the yogurt container and add distilled water to form a slurry. Put this in a Ziploc bag, with the hygrometer positioned over the container, and let it rest for about 12 hours. It takes that long for the solution to stabilize. (I let it rest overnight.) Personally, I like to leave the hygrometer display on so I can view readings through the bag, as they change, and also that way I know when the solution has stabilized.
With most digital hygrometers, they must be calibrated with the power or display turned off. So, once the solution has set for 12 hours and the reading has obviously stabilized, I turn the unit off. Then I commence with the manufacturer’s calibration procedures. Typically this involves pushing in, with a paperclip or a similar object, a recessed button and other controls in a set order. In essence, you are “teaching” the instrument to “recognize” a set humidity the next time it is exposed to it. With the Ziploc bag, you can see the hygrometer reading and the controls so it is a simple matter to punch a tiny hole in the bag with the paper clip and calibrate the instrument without interfering with the relative humidity that has been created.
Chemistry 33% solution:
You need Magnesium Chloride Hexahydrate. This is not as easy to obtain as regular salt, but it is not that difficult to find and it certainly can be done much cheaper than purchasing salt calibration kits. I purchase Magnesium Chloride Hexahydrate, lab quality flakes, on Ebay and sometimes prices vary as does availability. You will not use much at a time, but hygrometers should be calibrated two times per year so it will be a worthwhile supply to have on hand. It is becoming harder to buy even simple chemicals, but you can find this one at online chemical supply houses. It is, also, used as a de-icer. (Do not buy a magnesium + chloride supplement at a health food store – wrong product.) Mix the Magnesium Chloride Hexahydrate with distilled water, the same way as was described above, and follow all the same procedures. You can start both bags, 33% and 75% at the same time, and place the instrument in one. This allows both solutions to stabilize at the same time and to begin producing the RH you need. After you have done the first calibration, open and, quickly, put the hygrometer in the next bag. Give it time to stabilize. This can take from 40 minutes to six hours. You can tell when it is ready for calibration because the reading stays the same for long periods of time. Complete the second calibration and you are done for six months!
Note: If you wish to test the overall accuracy of your instrument, other salts can produce many different RH levels. The procedures, as far as mixing the salts and water and creating a controlled humidity chamber, are the same as previously described.
| SALT BATH | PUBLISHED RH AT 25°C |
| LITHIUM BROMIDE | 6.37% |
| LITHIUM CHLORIDE | 11.30% |
| POTASSIUM ACETATE | 22.51% |
| MAGNESIUM CHLORIDE | 32.80% |
| POTASSIUM CARBONATE | 43.16% |
| MAGNESIUM NITRATE | 52.89% |
| SODIUM BROMIDE | 57.57% |
| POTASSIUM IODIDE | 68.86% |
| SODIUM CHLORIDE | 75.30% |
| POTASSIUM CHLORIDE | 84.34% |
| POTASSIUM SULFATE | 97.30% |
It is possible to use this calibration procedure with any hygrometer, whether it can be calibrated or not, to determine it’s accuracy so one can mathematically correct for inconsistencies. For example, if the instrument is reading 80% humidity in the 75% salt solution, it is reading 6.0- 7.0% too high and this should be taken into account when future readings are taken. Typically, with a mechanical unit, it is only the 75% reading that is tested. Some people will test a hygrometer by wrapping it in a wet towel and, after a few hours, the reading should be around 98%. One problem with this is, if the instrument is set to read too high, and it shows a reading at the top of the scale -- which seems reasonable when it is in a wet towel -- the unit might actually be sensing 110% or even 120% but that is not apparent because the reading is off the scale. Therefore, a later reading that shows 50% might actually be off by 20 points. It is, for this reason, that the two lower calibration points, both readily apparent on the instrument’s display, have been established by manufacturers.
If you wish further information, or would like to comment on this article, please contact King of the House, Inc. Email: kingofthehouse@comcast.net